
The reason a page displays slowly is usually that the images are heavy. A photo taken on a phone is several MB as is, which is too big to put on the web. This article introduces two free compression tools you can use right in the browser, along with a guide to the file size to aim for. No installation or sign-up needed.
How light should you make it?
| Use | Target |
|---|---|
| One photo (for articles / cards) | 200KB or less |
| A large hero photo | 500KB or less |
| Icon / logo | 50KB or less |
Put a phone photo (3–5MB) up as is and it’s more than 10 times these targets. But don’t worry—just running it through a tool usually makes it 70–80% lighter while the look barely changes.
Why it gets lighter while “looking the same”
Most image compression uses a method called lossy compression, which makes files smaller by thinning out color changes and fine details that are hard for the human eye to tell apart. Photos have a lot of color information to begin with, so even thinning it out a little barely changes the impression of the look. That’s exactly why just running it through a compression tool can make it dramatically lighter.
TipsHow to choose an image format (JPG, PNG, WebP, SVG)Which format to choose in the first place—JPG, PNG, WebP, and so on—is in this articleTinyPNG
The handiest go-to tool. Just drag and drop onto the page and it compresses automatically; then you just download the finished file. It can process up to 20 at once in a batch.
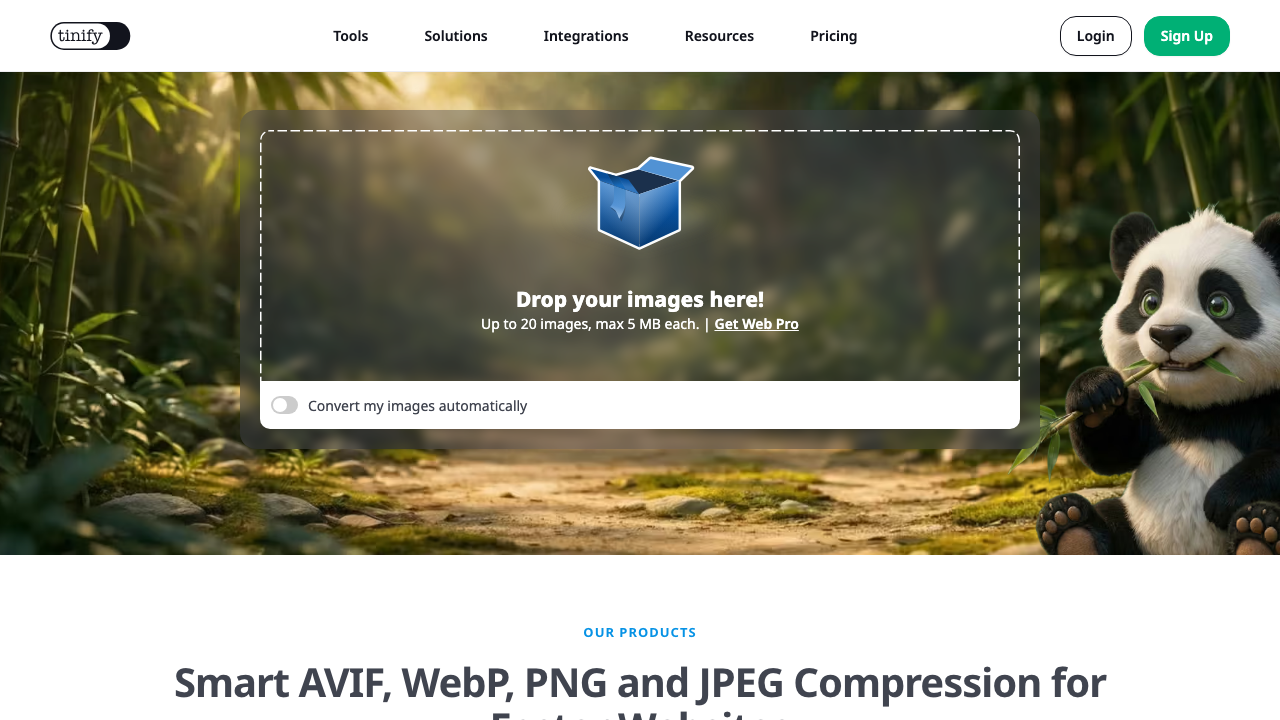
If you just want it lighter without fiddling with settings, this is the one. On top of PNG, JPG, and WebP, it supports newer formats like AVIF and JPEG XL (up to 5MB per image). However, converting to a different format is limited to 3 images on the free plan, so if you want to make WebP, the next tool, Squoosh, is more suitable.
Squoosh
A compression tool made by Google. Its biggest feature is that when you move the quality slider, you can compare the result on the spot. With a split view—original on the left, compressed on the right—you can decide while checking with your own eyes “how far can I lower the quality and still be fine.”

Beyond compression, you can also do shrinking the width and height (resizing) and converting to WebP, a format built for small file sizes right here. When you want to carefully finish a single image, use this.
Before compressing, review the “size” too
Something that’s surprisingly effective is shrinking the image’s width and height before compressing. A phone photo is about 4000px wide, but if you display it at 400px wide on the page, you don’t need that much.
- A good rule of thumb is “twice the width you display it at” (displaying at 400px wide → 800px wide is plenty. Twice, because of high-resolution screens)
- Resizing can be done with Squoosh’s “Resize”
- Running it in the order shrink → compress makes it the lightest
Which one? A quick comparison
Both are free and run entirely in the browser, but they’re good at different things.
| TinyPNG | Squoosh | |
|---|---|---|
| Good at | Lightening a batch quickly | Finishing one image carefully |
| Images at a time | 20 | One at a time |
| Quality control | Automatic (no settings) | Free control with a slider |
| Before / after comparison | None | Side by side in a split view |
| Resize (shrink dimensions) | No | Yes |
| Convert to another format | Free up to 3 | Any number |
TinyPNG for ten photos for an article all at once, Squoosh for squeezing the one big hero image to its limit—that’s the most practical division of labour.
When compressing doesn’t make it faster
You lightened the images and it still doesn’t feel faster? Then the cause is more likely how many images there are and when they load.
- Put off-screen images off until later—adding
loading="lazy"to animgtag stops it loading until you scroll near it. On sites with many images further down the page, this can beat compression - Write the width and height—writing
widthandheightreserves the space before the image arrives, preventing the layout from jumping while it loads - Check you’re not shrinking a big image with CSS—showing a 2000px-wide image at
width: 300pxstill downloads all 2000px of weight. Shrink the file itself
So the order that works is three steps: shrink the dimensions → compress → defer the loading.
If you’re publishing on WordPress
With WordPress, the sure bet is a plugin that compresses automatically as you upload. Any manual step will eventually be forgotten, so leaving it to the machinery lasts longer. On top of that, WordPress generates several sizes from each upload, so simply picking the size that fits the display instead of the original makes your pages lighter.
TipsMaking WordPress faster (in order of impact)Ways to speed up WordPress, images and everything else, ordered by how much they helpTipsFree photo and illustration stock sitesWhere to find the photos in the first place: a roundup of free stock image sitesTipsHow to publish your site on the internetWith your lightened images, the steps to publish a site for free are hereSummary
- For photos, aim for 200KB or less. A phone photo as is is a no-go
- TinyPNG for handiness, Squoosh for checking the result and resizing
- The order is “shrink, then compress.” Make it a before-publishing habit
- Still slow? Add
loading="lazy"and writewidth/height - Always keep the originals elsewhere—lossy compression can’t be undone
Just having light images makes the first impression of your page “a snappy, well-built site.”