
Even if you make a page with HTML/CSS, while it sits inside your own computer only you can see it. There are free services that publish it just by uploading the folder as-is, and the easiest is Netlify’s drag-and-drop. This article centers on Netlify, and also introduces GitHub Pages and Cloudflare Pages as options.
Publish with drag-and-drop on Netlify
Netlify is a free site-publishing service, and among its features, Netlify Drop is a special entrance you can try without logging in.
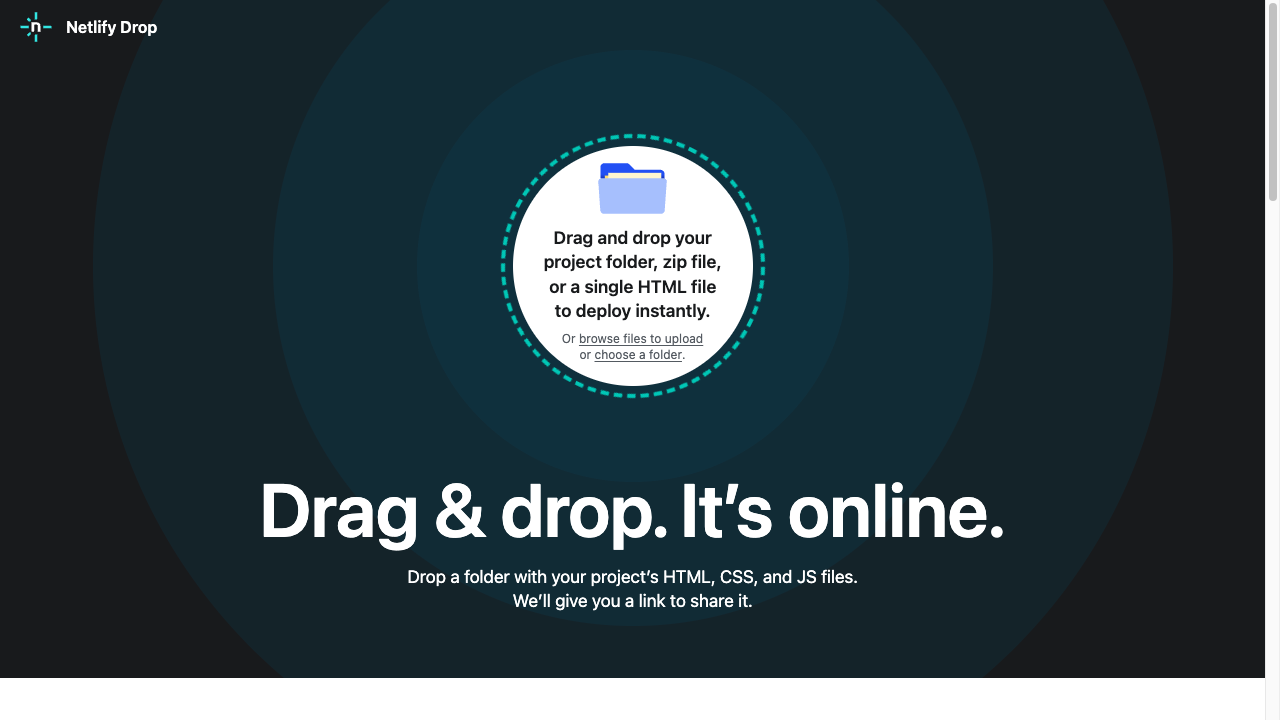
- Prepare the folder you want to publish — Make sure
index.htmlis directly inside that folder. If it’s buried inside a subfolder, it won’t display properly. - Drag and drop the whole folder — Drop the folder onto the round frame above and the upload starts.
- Check the URL that’s issued — Wait a few seconds and a URL like
xxxxx.netlify.appis issued. Copy it and you can share it with anyone.
Pre-publish checklist
Before you upload, checking just three things about the folder’s contents heads off almost every “huh?” moment after publishing.
- The top page is named
index.html——Publishing services work on the rule of “showindex.htmlfirst.” If you only havehome.htmlormypage.html, opening the URL shows nothing - Link and image paths are relative——If you’ve written a path pointing to a location inside your own computer, like
file:///Users/…, it can’t be found on the internet. Write it as the route seen from the HTML file, likeimages/photo.png - Check there’s no personal information——A published page can be seen by anyone in the world. Before uploading, take one more look to make sure you haven’t included your real name, address, school name, phone number, or a photo of your face
Other options
Netlify is the quickest, but choosing one that fits the tools you normally use is also smart.
GitHub Pages
A feature that publishes a page straight from GitHub, which is used as a place to store code. If you’re in the habit of keeping your code on GitHub, its strength is that you can use it with no extra signup.
However, the free plan requires making your repository public, which means your HTML and CSS source becomes readable by anyone (if you want to publish while keeping the repo private, you need a paid plan). Check here too that you haven’t written anything you’d mind others seeing.

Cloudflare Pages
A publishing service provided by a company called Cloudflare. Its hallmarks are fast display speed and a mechanism that connects to GitHub so that “every time you update your code, it’s reflected automatically.” This site (Piyogramming) is also published on Cloudflare Pages.
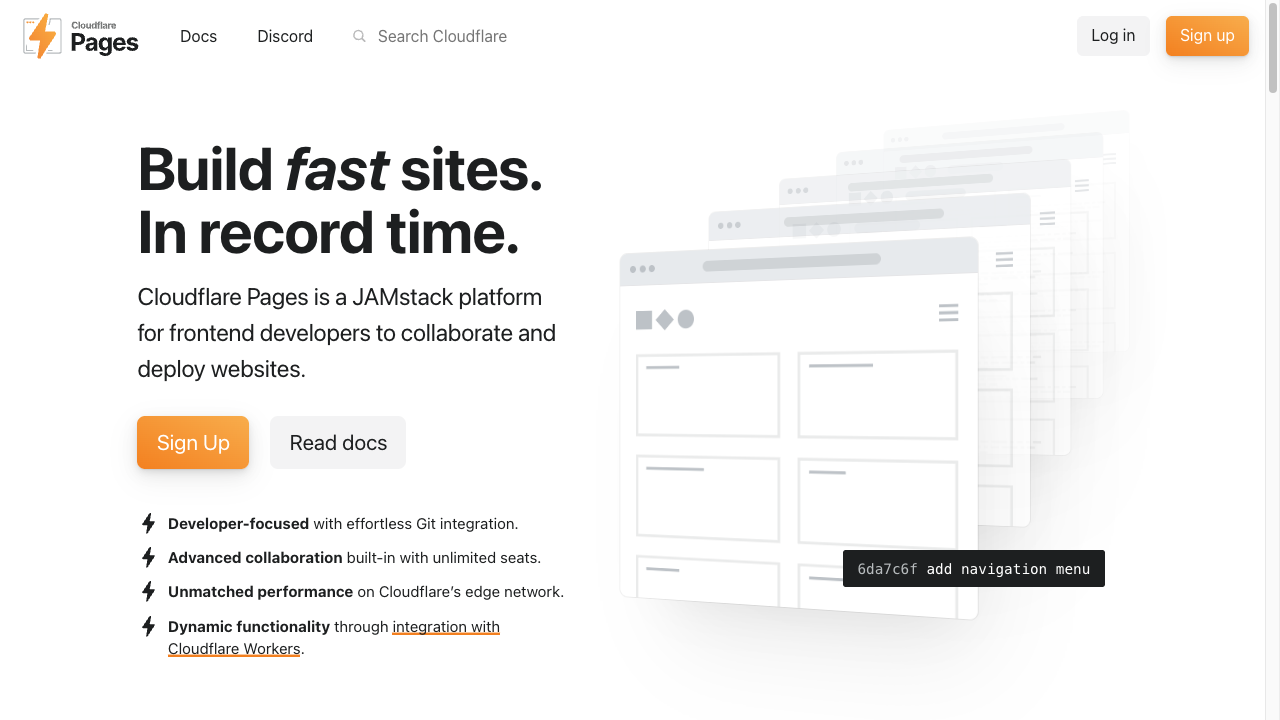
Choosing among the three services
| Service | Ease | How you update | Who it suits |
|---|---|---|---|
| Netlify Drop | ◎ You can try it without signing up | Re-drop the folder | People publishing for the first time today |
| GitHub Pages | ○ Assumes you use GitHub | Push a code update and it goes live | People who use GitHub |
| Cloudflare Pages | ○ Signup + integration setup | Automatic, via the GitHub integration | People who want to keep updating and growing it |
If you’re unsure: publish once with Netlify Drop to get the experience, then move to a service with GitHub integration as your updates pile up. That’s the route with no detours.
Once you get used to publishing and think “I want my own address, not xxxx.netlify.app,” the next step is a custom domain. You buy a name of your own—something like shima.com—from a domain registrar and point it at the site you just published. Every service above lets you attach one from its dashboard.
Summary
- Upload the folder you made as-is, and you can publish for free
- The easiest is Netlify Drop—just drag and drop and you have a URL seconds later
- If you use GitHub, GitHub Pages; if you want auto-reflection on every update, Cloudflare Pages is an option too
Your own page gets its own URL—just that alone brings what you made much closer to being “the real thing.”