
VSCode is already impressive out of the box, but you can make it even more convenient by adding Extensions. Think of it as adding “extra apps” to an app. Here’s a roundup of staples that make things comfortable for beginners.
How to install an extension (the shared steps)
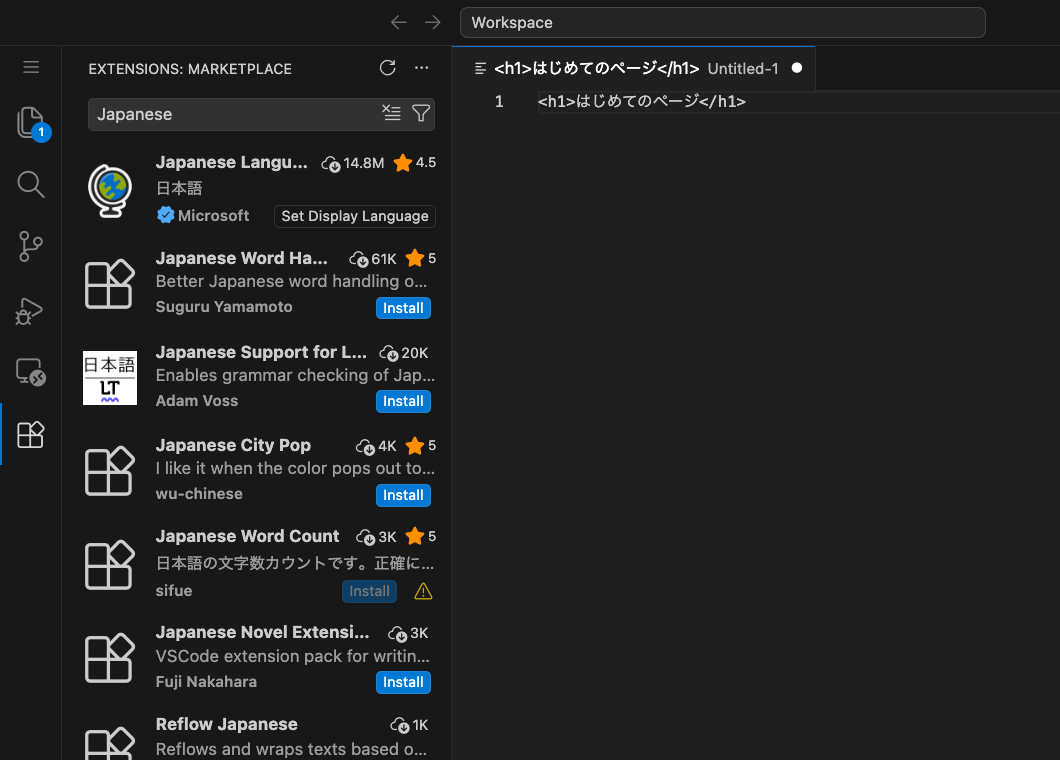
- Click the four-squares icon (Extensions) at the far left of VSCode
- Type the name of the extension you want in the search box at the top
- Press the Install button on the one you want
That’s it. From here, just copy the names below into the search field and you’ll install them without getting lost.
Extensions worth installing
They’re listed from the top in order of “installing this first has the biggest effect.” You don’t have to install them all at once. Start with Live Server (plus a Language Pack if you want the interface in your own language), then add the ones you find yourself wanting as you work.
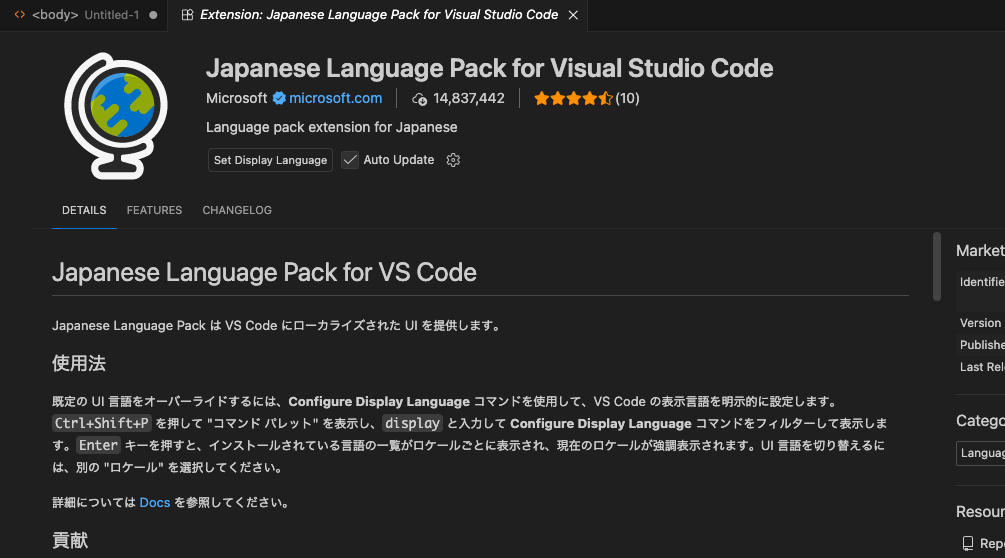
1. Language Pack (translate the interface)
VSCode ships in English, but Microsoft publishes official Language Packs that translate the menus and settings. If English isn’t your first language, this is the very first one to install—search for “Language Pack” plus your language (Japanese, Spanish, French, and so on). If it asks “Restart?” after installing, restarting switches the interface over.
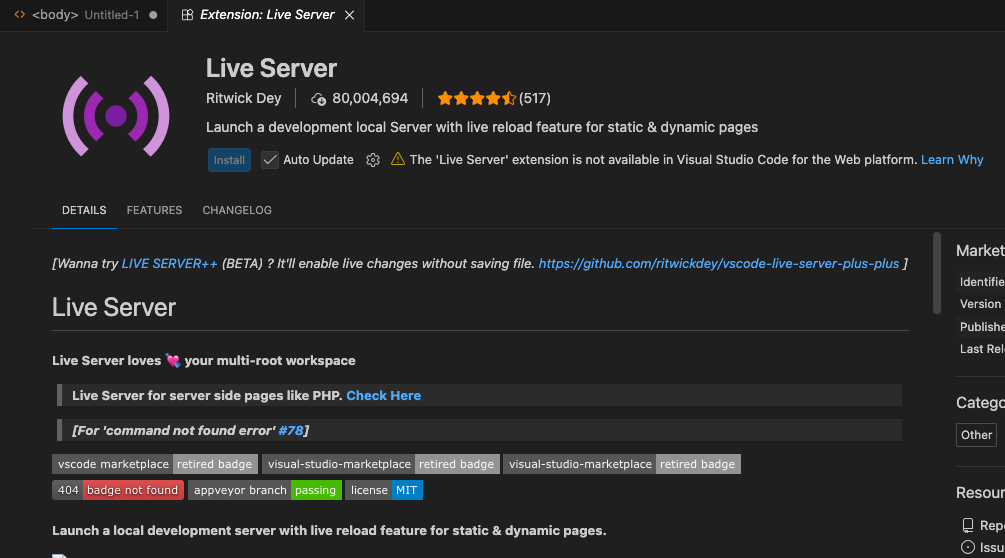
2. Live Server (automatic preview)
Right-click an HTML file → Open with Live Server, and it shows automatically in your browser. The moment you save, the screen updates. It’s a practice companion that makes the “write → look” loop dramatically easier.
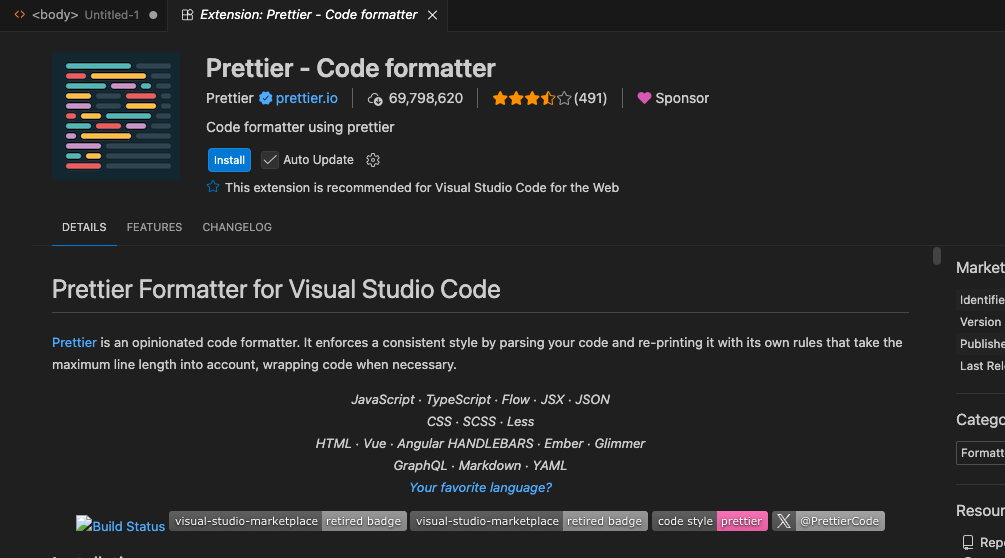
3. Prettier (automatic code formatting)
Just by saving, it neatly tidies up ragged indentation and whitespace. When the look is aligned, mistakes become easier to spot too.
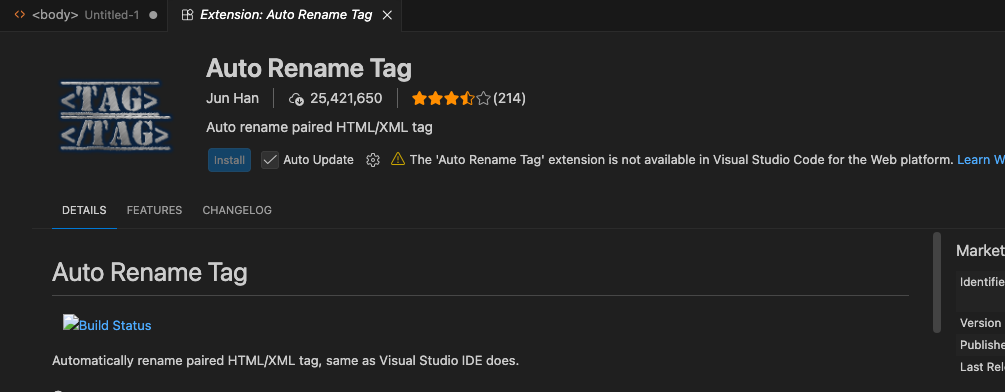
4. Auto Rename Tag (auto-follow closing tags)
When you rewrite <div> to <section>, the matching closing tag </div> changes automatically along with it. Forgetting to fix the closing tag is the mistake beginners make most. This prevents it entirely.
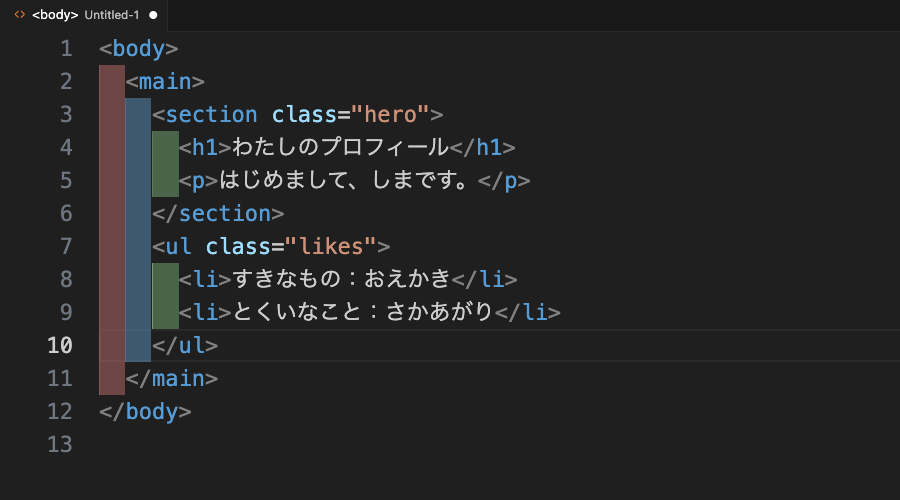
5. indent-rainbow (make nesting easy to see with color)
Colors appear according to indentation depth, so the depth of nesting (tags inside tags) is clear at a glance. Less of “wait, which part am I writing inside right now?”
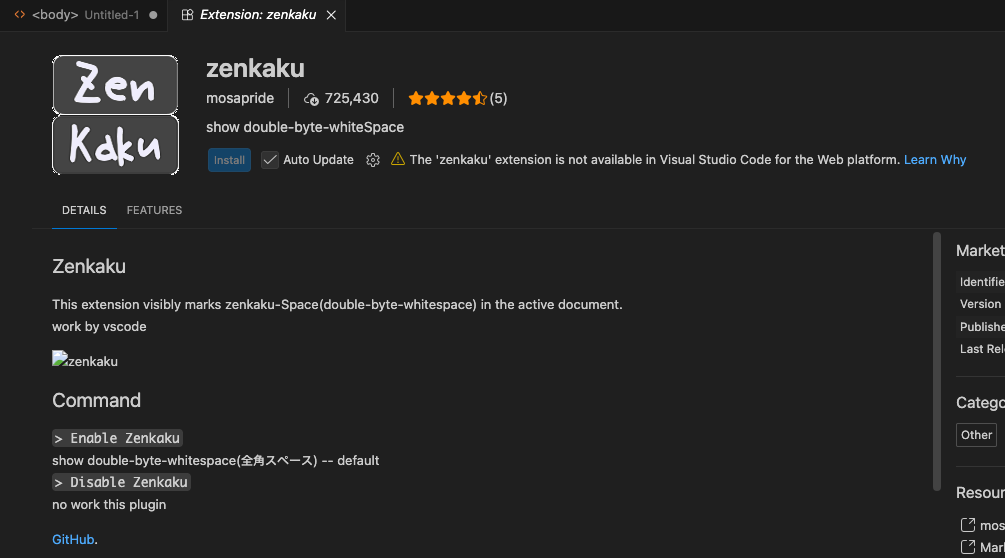
6. zenkaku (make full-width spaces visible)
If you type in Japanese, Chinese, or Korean, a “full-width space” can sneak into your code by accident. It looks like an ordinary space, but code won’t run with one in it — and you can’t spot it by eye. This extension makes full-width spaces visible as colored squares. The more you type in those languages, the more it helps.
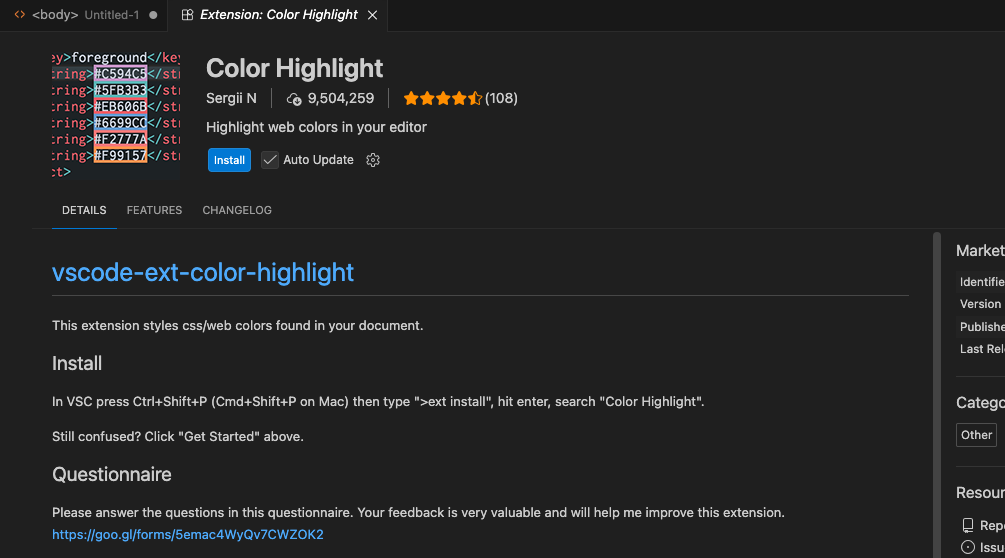
7. Color Highlight (preview colors for color codes)
When you write a color code like #ff6699 in CSS, the background of that text becomes the actual color. No need to check “wait, what color is this code?” each time — you see it at a glance. A big help when practicing CSS with lots of colors.
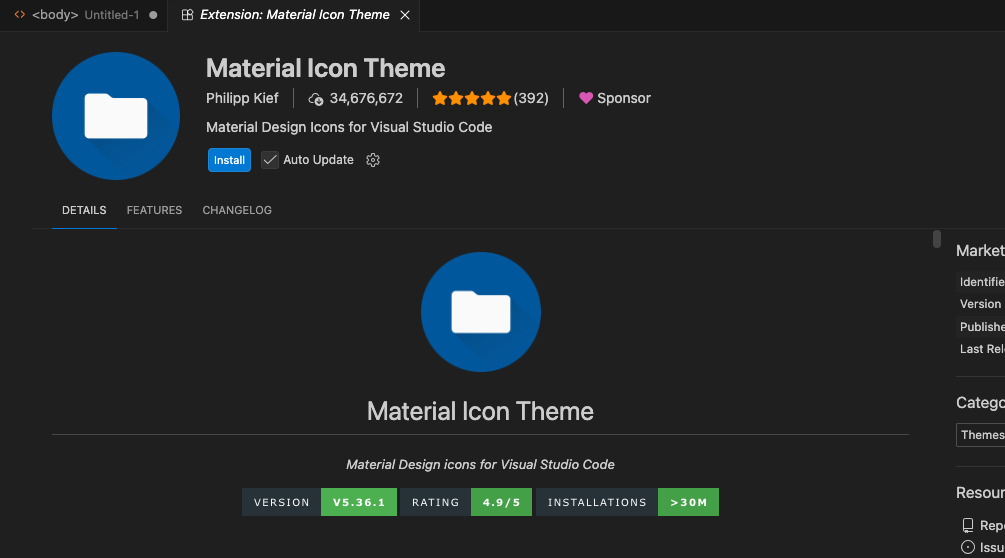
8. Material Icon Theme (icons on files)
Icons for each type appear next to file names in the sidebar. HTML files, CSS files, and image files become distinguishable at a glance, making the inside of a folder much easier to understand.
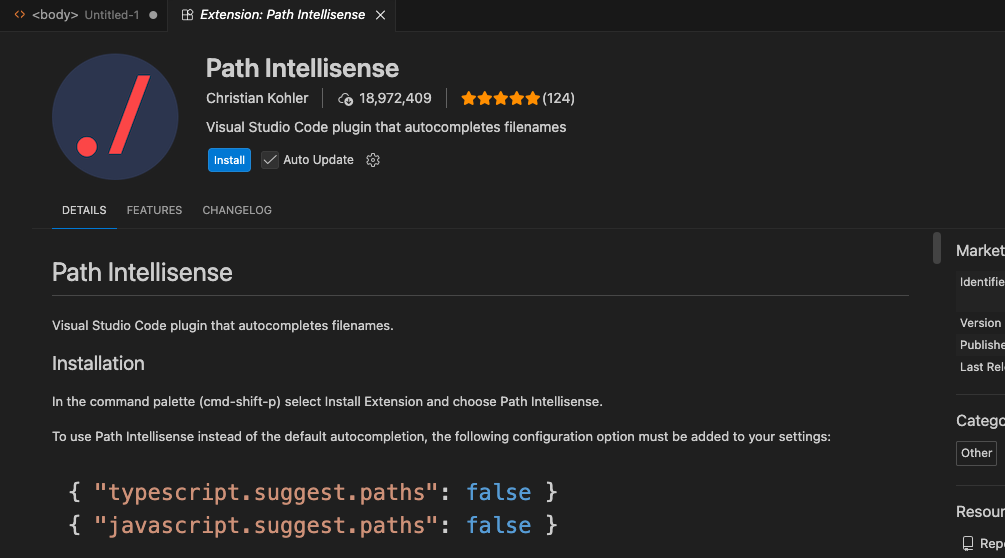
9. Path Intellisense (file path completion)
When you type the location (path) of a file for loading images or CSS, it offers candidates. It prevents “can’t load it!” caused by typos in folder or file names.
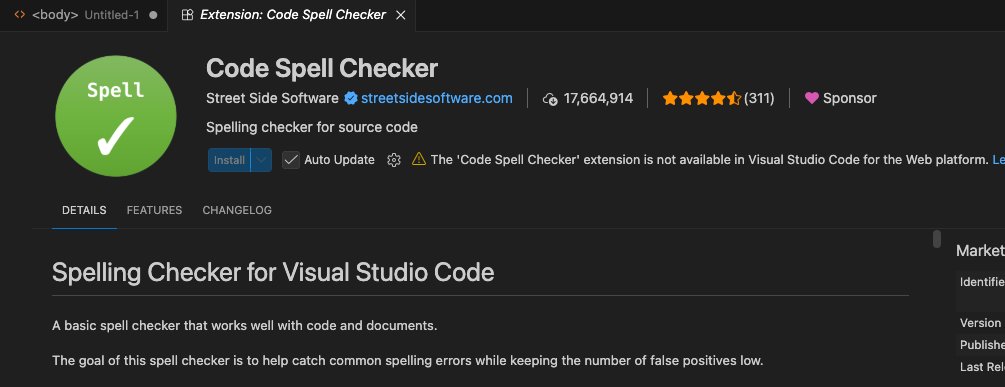
10. Code Spell Checker (spelling-mistake detection)
It flags English spelling mistakes like widht or heigth with a wavy underline. English spelling mistakes tend to cause things not to work, so being able to fix them as you write is a reassuring ally.
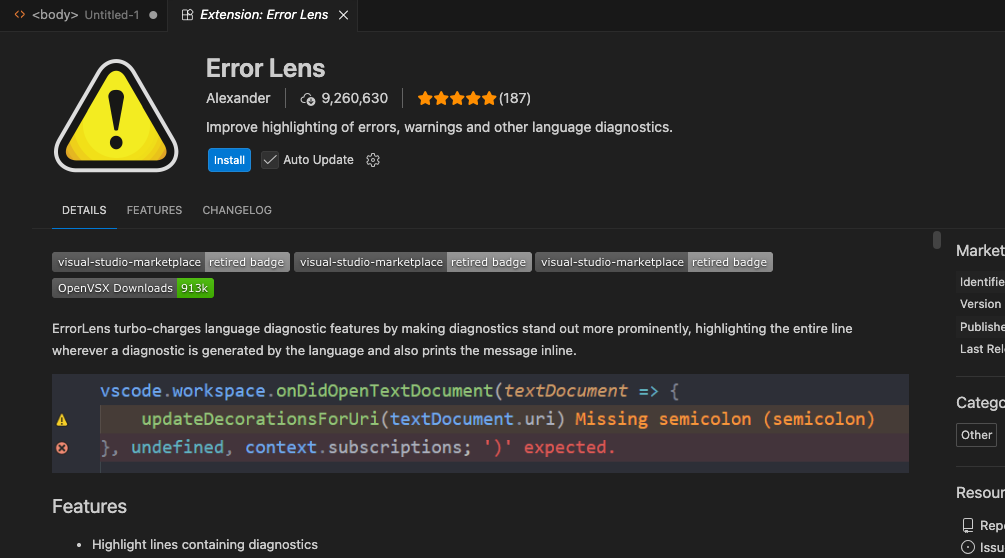
11. Error Lens (show errors right where they are)
On a line with a mistake, it shows the error’s content in red right there. Warnings that normally only appear as a tiny marker show up as text right next to the line, so where and why something is wrong is immediately clear. It greatly cuts down the time spent hunting for causes.
Which one to pick from the search results?
Sometimes several extensions with the same name or similar roles show up and you get lost. Look at these three and you can usually pick a safe one.
- Install count — an extension with far more installs has far more users, so problems get found and fixed faster
- Publisher — official or the author themselves, like “Microsoft” or “Prettier,” is more trustworthy. Sometimes there’s a blue check next to the name
- Last update date — has it stopped updating for years? It’s a gauge of whether it works without trouble even on a new VSCode
The ones introduced in this article are all long-used staples that meet these criteria. When in doubt, pick from here first and you won’t go wrong.
Summary
- From the Extensions icon, search → Install to add extensions
- Build around Live Server and Prettier (plus a Language Pack if you want one), then add things like Auto Rename Tag as you need them
- Extensions can be “added later,” so no need to overdo it — a little at a time is fine
When your tools are in order, practice itself becomes pleasant.