
Write a <form> in HTML and nothing arrives anywhere. Creating the fields is HTML’s job; receiving them is somebody else’s. Here are three free services that let you receive messages without running a server, with the code for each.
Why it doesn’t send
When the submit button is pressed, the browser tries to deliver the contents to whatever action names.
<form action="a destination goes here">That destination — a program that receives the data and tells you about it — normally requires a server and some programming. Services that handle only that part let you get away with editing one line of HTML.
The three options compared
| Formspree | Netlify Forms | Google Forms | |
|---|---|---|---|
| Effort | One line of HTML | One extra attribute | Paste an embed |
| Appearance | Your own design | Your own design | Google’s design |
| Free tier | 50 per month | 100 per month | Unlimited |
| Requirement | Publish anywhere | Only if hosted on Netlify | Publish anywhere |
| How you receive it | Dashboard plus email | Spreadsheet plus email |
Formspree
Write the URL it issues into your action and submissions arrive by email. The form you already designed keeps its look. It doesn’t care where you host, which makes it the all-rounder.
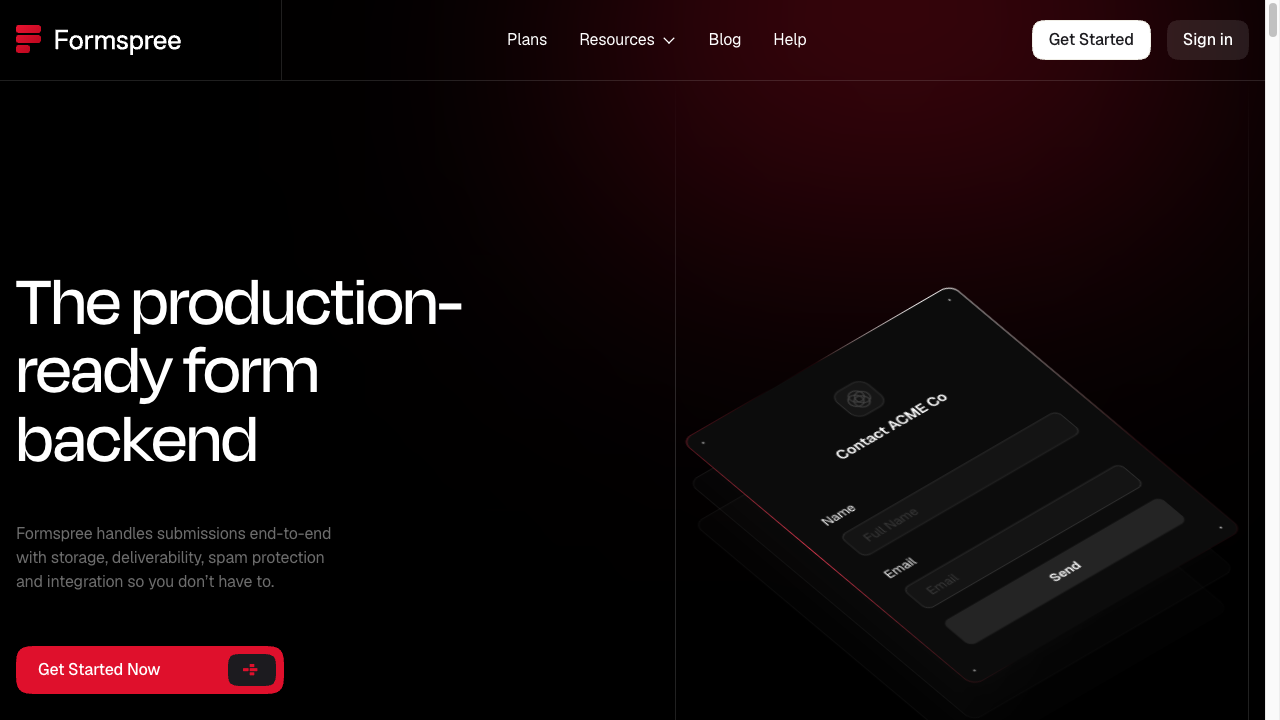
To use it, paste that URL into action and add method="POST".
<form action="https://formspree.io/f/your-id" method="POST">
  <label for="email">Email</label>
  <input type="email" name="email" id="email" required>

  <label for="message">Message</label>
  <textarea name="message" id="message" required></textarea>

  <button type="submit">Send</button>
</form>Netlify Forms
Available when your site is hosted on Netlify. Add one attribute to the form tag and Netlify sets up the receiving end automatically when you publish.
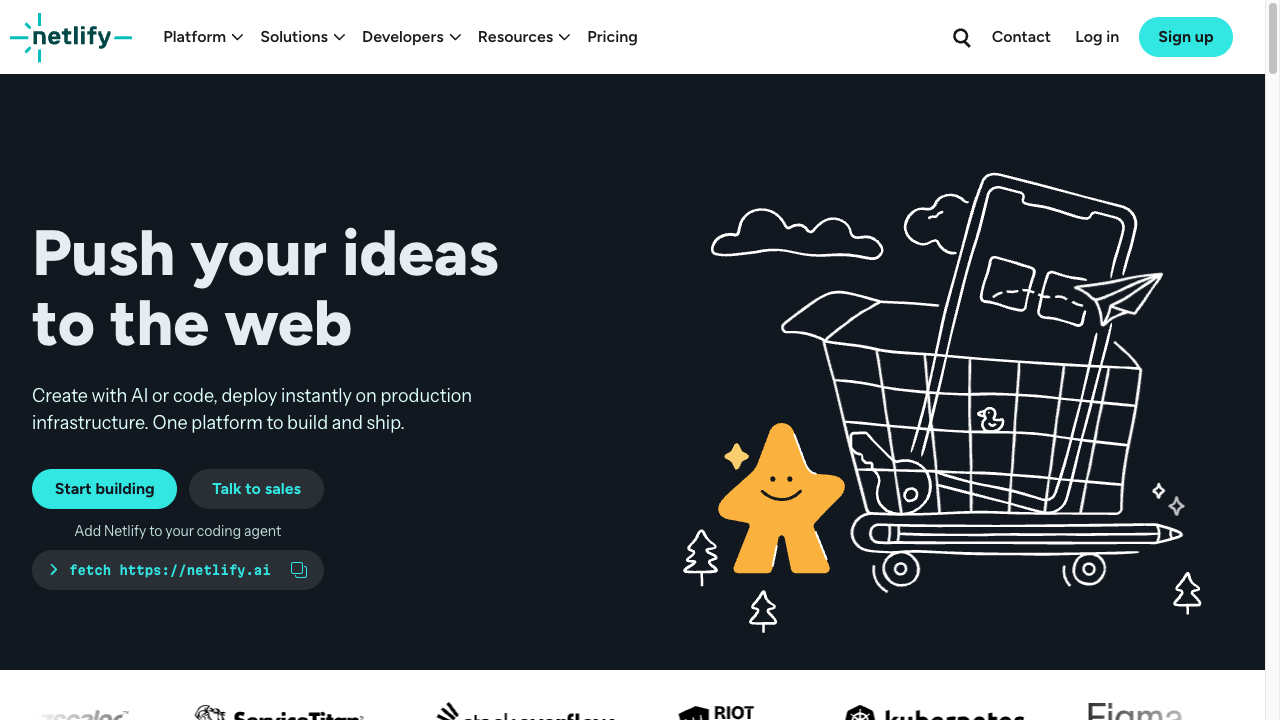
<form name="contact" method="POST" data-netlify="true">
  <label for="name">Name</label>
  <input type="text" name="name" id="name" required>

  <label for="message">Message</label>
  <textarea name="message" id="message" required></textarea>

  <button type="submit">Send</button>
</form>
data-netlify="true" is the signal. Submissions are listed in the Netlify dashboard, and you can turn on email notifications.
Google Forms
Build the form in Google and embed the finished thing in your page. Responses collect themselves in a spreadsheet. No submission limit, and it handles the analysis side for you.
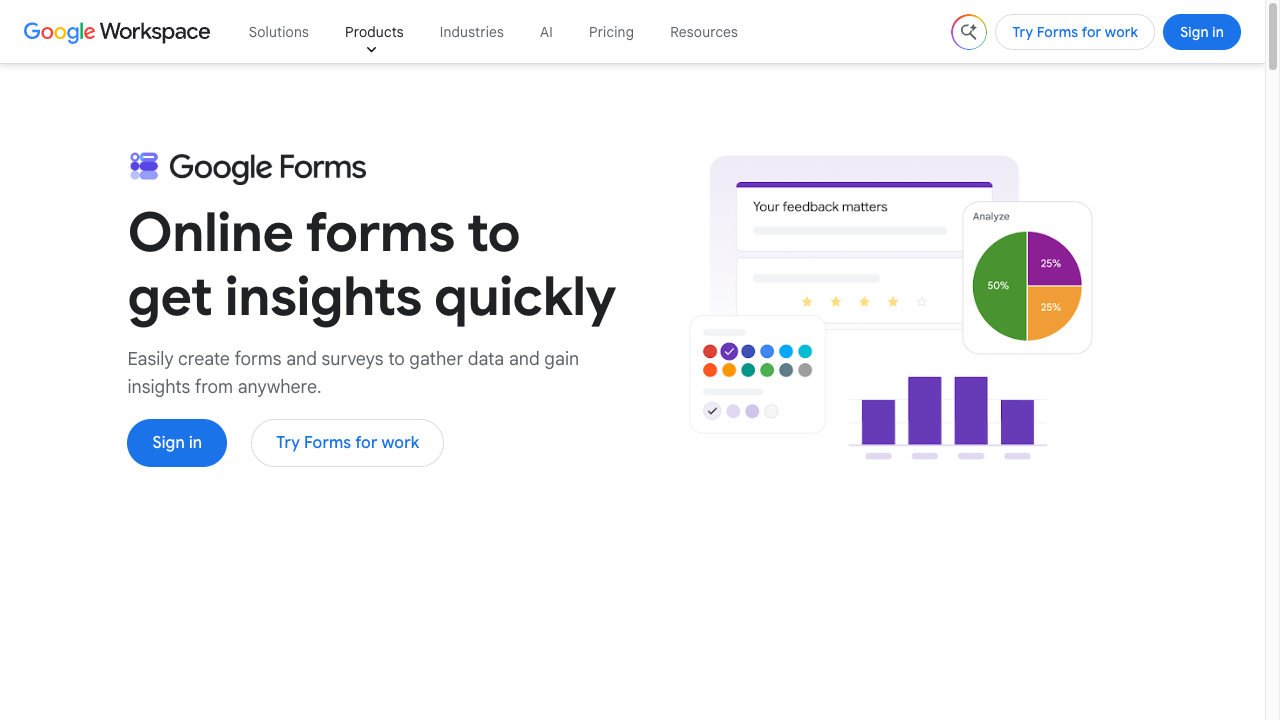
After building the form, choose Send → < > (embed) and paste the code into your HTML.
<iframe src="https://docs.google.com/forms/d/e/……/viewform?embedded=true"
        width="100%" height="800" frameborder="0">Loading…</iframe>
The trade-off: it keeps Google’s appearance. If you want it to match your site, the first two suit you better.
Choosing
- Your own design, hosted anywhere → Formspree
- Already on Netlify → Netlify Forms (nothing extra to sign up for)
- Tallying matters more than looks, or high volume → Google Forms
After you set it up
1. Send yourself a test
Once published, send one message and confirm that the email actually arrives. When it doesn’t, it’s usually sitting in a spam folder, or a name attribute is missing.
2. Turn on spam protection
A public form attracts automated submissions. Every service offers protection (reCAPTCHA, honeypots); switch it on in the dashboard.
3. Say what you do with the data
If you collect email addresses, put a line near the form about what they’re used for. It doesn’t need legal language.
<p>What you send is used only to reply to you.</p>Summary
- An HTML form needs a destination (action) and something to receive it
- Keep your design with Formspree, use Netlify Forms if you’re on Netlify, choose Google Forms for tallying
- After setup: test send, spam protection, and a line about the data
A site with a working contact form stops being something you show and becomes something people can reach.