Up to now, you’ve placed all kinds of input parts — boxes to type in, boxes to choose from. But left scattered about, it’s unclear “where one sign-up begins and ends, and how it gets sent.” What bundles them into one and sends them off is <form>. It’s what those input forms you know from contact pages and account sign-ups really are.
Bundle your input boxes together
Wrap the <input> and <button> you’ve used so far inside a <form>.
<form>
  <input type="text" placeholder="Your name">
  <button type="submit">Send</button>
</form>
<button type="submit"> is the “submit button.” Press it, and the form’s contents are all sent together. “Input box → submit button” wrapped in a <form> — this is the basic shape of a form.
<form>. Try typing some text in.Use a label to show “what the box is for”
Adding a label that shows “what this box is for” makes your input boxes much friendlier. The tool for this is <label>.
<form>
  <label>
    Your name
    <input type="text">
  </label>
  <button type="submit">Send</button>
</form>
When you use <label> to bundle the descriptive text and the input box together, pressing the label text also activates the input box. It becomes easier to tap with a finger, and it tells screen readers “this box is for your name.” It’s a small touch, but it makes a big difference.
Give a name to the data you send (name)
When a form’s contents are sent, each value arrives with a name that says “which box this value came from.” The thing that gives it that name is name.
<form action="/submit" method="post">
  <label>Your name
    <input type="text" name="username">
  </label>
</form>
With this in place, the data arrives as a pair like “username = the text that was typed.” The receiving side uses this name as a clue to sort things out: “this is the name, this is the message.” Put another way, the contents of a box without a name aren’t included when it’s sent. The same name attribute you used last time to group radio buttons works here as a “name tag for data.”
Decide where it gets sent
To really send a form, you write “where and how to send it” on the <form>.
<form action="/submit" method="post">
  ...
</form>| What you write | Meaning |
|---|---|
action="..." | Where the input is sent (the destination’s address) |
method="post" | The kind of sending method |
There are mainly two kinds of sending method (method).
| method | How it sends | Good for |
|---|---|---|
get | Attaches the input to the end of the URL | Searches and other cases where you want to share the results page |
post | Wraps the input and sends it (doesn’t appear in the URL) | Sign-ups, contact forms, passwords, and the like |
You may have seen text like ?q=long-tailed+tit get tacked onto a URL after a search form. That’s the get method. For forms that send contents you don’t want appearing in the URL, like names or messages, choose post. If you’re unsure, just remember: go with post.
Give it a try
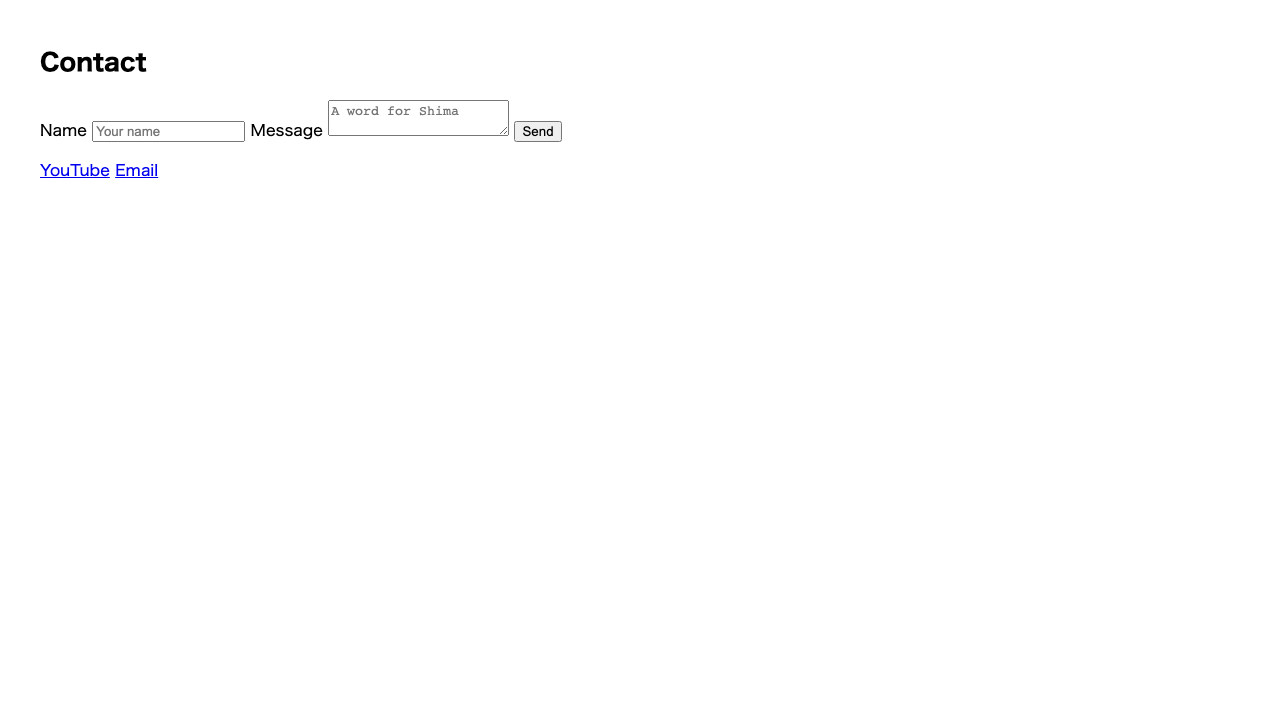
This is a form wrapped in <form> with <label>s added. Try confirming that pressing the label text moves the cursor into that input box.
<label>.Summary of this lesson
- Bundle input boxes and buttons together with
<form> - Adding a
<label>conveys “what the box is for” and makes it easier to press nameis a name tag for the data you send — the contents of a box without one aren’t sentaction(destination) andmethod(sending method) decide how it’s sent