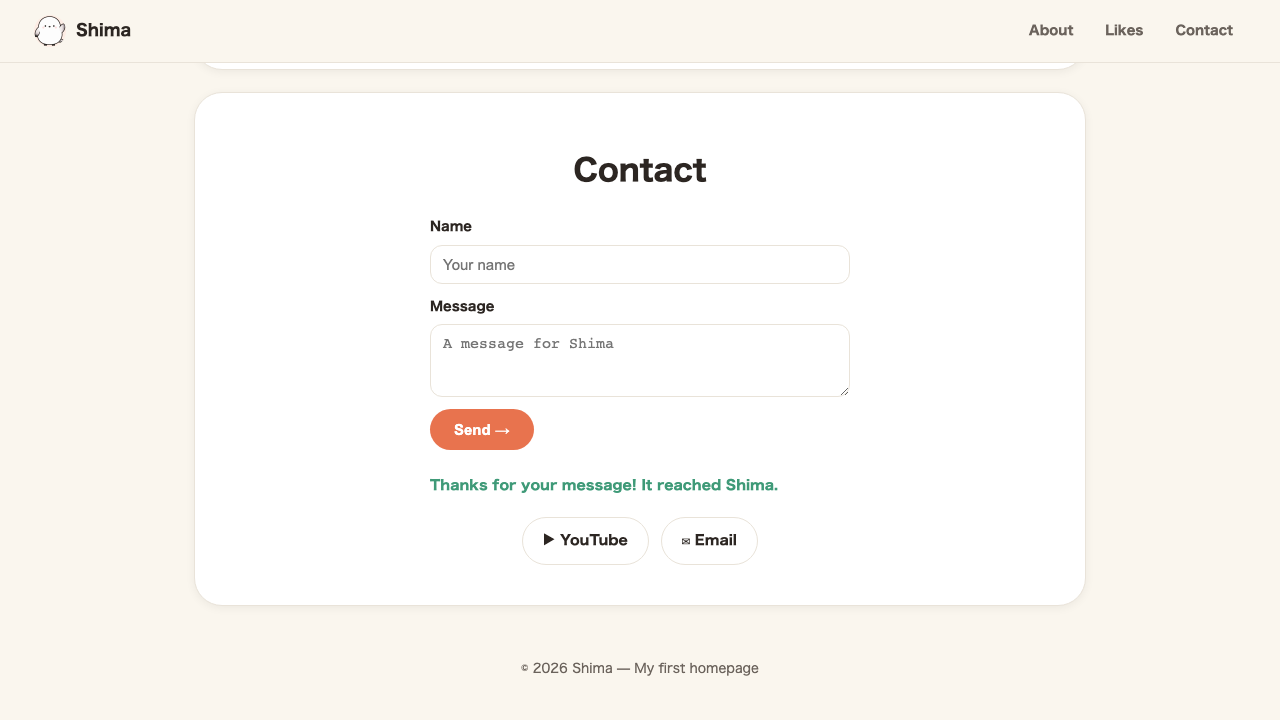
At last, the entrance to “movement.” The fun of JavaScript is being able to write “when you do something, something happens.” The classic example is a button click. Combine “rewrite the text” with this lesson’s “trigger,” and it suddenly feels a lot more like a real app.
HTMLButtons and input fieldsHow to make the “pressable button” itself—the thing you’re moving (the HTML side)—is covered in this lessonJust get the general idea
const button = document.getElementById("send");

button.addEventListener("click", function () {
  alert("You pressed it!");
});
Line 1 is exactly the same as last time—a line that only catches a place (it puts the button with id="send" into a box called button). What looks hard starts on line 2. But read out loud it’s just “when the button is clicked, show a message.” The fine details of how to write it can wait; for now, it’s OK if you can feel the shape of “trigger → reaction.”
| What you write | Meaning |
|---|---|
button | The one you caught, whose triggers you’re watching for |
addEventListener | The magic words for “when ~ happens, do this” |
"click" | What kind of trigger (here, a click) |
function () { ... } | What to do when it happens (the reaction) |
Connect it with rewriting text, and here’s what you get
“When clicked, rewrite the text.” Just put textContent inside the reaction.
button.addEventListener("click", function () {
  const el = document.getElementById("greeting");
  el.textContent = "Thank you!";
});
Press the button, and the heading changes to “Thank you!” A single small mechanism—trigger (click) → reaction (rewrite)—is now complete. “Press like and the number goes up” is, at heart, a relative of this.
Let’s actually run it. Press the button below, and exactly what the code above describes happens.
Here are some representative triggers, lined up.
| Trigger | When it fires |
|---|---|
"click" | When clicked |
"submit" | When a form is submitted |
"mouseover" | When the mouse hovers over |
"keydown" | When a keyboard key is pressed |
The way to write them is the same for all; you just swap out the first ingredient you give addEventListener (the trigger’s name). For now, a glance at “here are the kinds that exist” is plenty. Come back to this table when you actually need one.
A form’s “submit” is a trigger too
A <form> has its own dedicated trigger, separate from a click. That’s "submit". It fires when the submit button is pressed.
form.addEventListener("submit", function (event) {
  event.preventDefault();
});
event.preventDefault() is the magic line for “stop the original behavior (reloading the page).” A form, by default, tries to move to another page when submitted, but we want Shima’s page to stay put and show the thank-you, so we stop that with this.
Catch an element by class: querySelector
Up to now you’ve caught places by id with getElementById, but when you want to catch a place with a class, you use querySelector.
const form = document.querySelector(".contact-form");The marker in document.querySelector("marker") is written the same way as CSS. Start with . to catch a class, and with # to catch an id. getElementById("thanks") means the same as querySelector("#thanks"). querySelector is the more versatile all-rounder.
Summary of this lesson
- Movement is made of “trigger (event) → reaction”
- A click is a representative trigger. A form also has its own
"submit" - With
event.preventDefault(), you can stop a submit’s original behavior (the reload) - When catching a
class, usequerySelector