
Git is free software. In this lesson you’ll install it and make the name and email settings that always come first. After this you can start committing right away.
First, check whether you already have it
On a Mac, or on a machine where you’ve installed developer tools, Git may already be there. Open a terminal and type:
git --versionIf you see a version number like git version 2.39.3, you already have it. Skip ahead to “Set your name and email.”
Installing on Windows
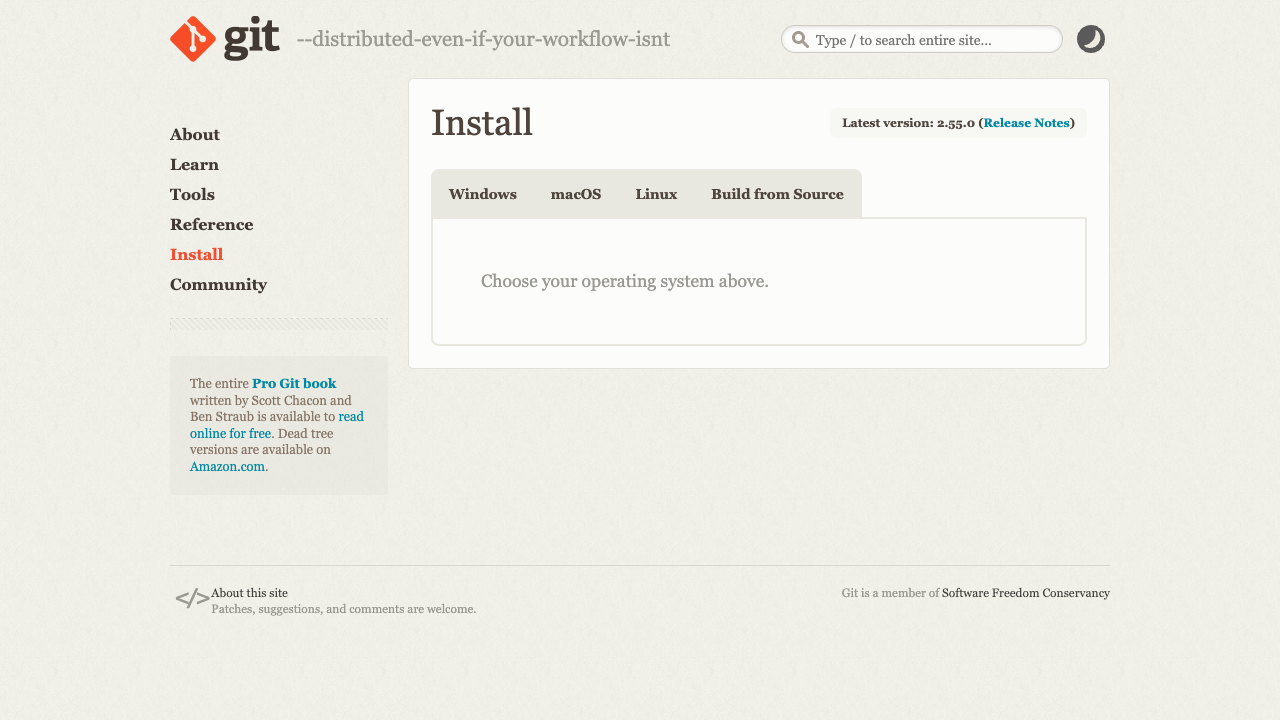
Download the installer from the official site and run it.
The installer asks a lot of questions, but the defaults are fine for all of them. Two screens are worth a moment’s thought:
- Choosing an editor — if you use VS Code, “Use Visual Studio Code as Git’s default editor” saves trouble later
- Line ending handling — leave the recommended “Checkout Windows-style, commit Unix-style”
When it finishes, open Git Bash (installed alongside) or the VS Code terminal and run git --version to confirm.
Installing on Mac
The easiest route installs Apple’s developer tools. In a terminal, type:
git --versionIf Git isn’t installed, a dialog appears asking whether to install the command line developer tools. Click Install and you’re done.
If you use Homebrew, this works too:
brew install gitSet your name and email
Always do this right after installing. Git writes these into each commit to record who made it.
git config --global user.name "shima"
git config --global user.email "[email protected]"
--global means “make this the setting for this whole computer,” so you don’t have to repeat it per project.
To check what you set:
git config --global user.name
git config --global user.email
If it prints back what you typed, you’re set.
Two optional settings that make life easier
Not required, but worth setting once:
git config --global init.defaultBranch main
git config --global color.ui auto
The first names the initial branch of new repositories main, matching GitHub’s default. The second colors Git’s output so it’s easier to read.
Summary of this lesson
- Run
git --versionfirst to see whether you already have it - Windows: the installer from the official site. Mac: the developer tools prompt from
git --version, or Homebrew - After installing, always set your name and email with
git config --global